

Firstly:
-The pattern can be found here. It's Pierrot Yarns 29-210-44 Striped Bag.
-I honestly have no idea if how I did it is how the pattern calls for. However, it worked for me, and I'm hoping it'll work for you!
-Any crochet terms are written in US-terms.
And on these notes, here we go!
Start off with a granny square. I did 20 rounds to get my desired bag length.


To make things easy, line the bag before working on the mouth/sides. The bag was too big to use a fabric square, so I


When you get to the end of that side: ch-1, turn, sc in each sc across. Keep doing rows until it's long enough to wrap around your handles. I did 6 rows.
Next, make the mouth side on the opposite end of the granny square. So, you end up with this:


Then, for added cohesive-ness (yup, just made that a word!) I single crocheted all the way around.

Attach your handles, and there you go! A granny square bag!
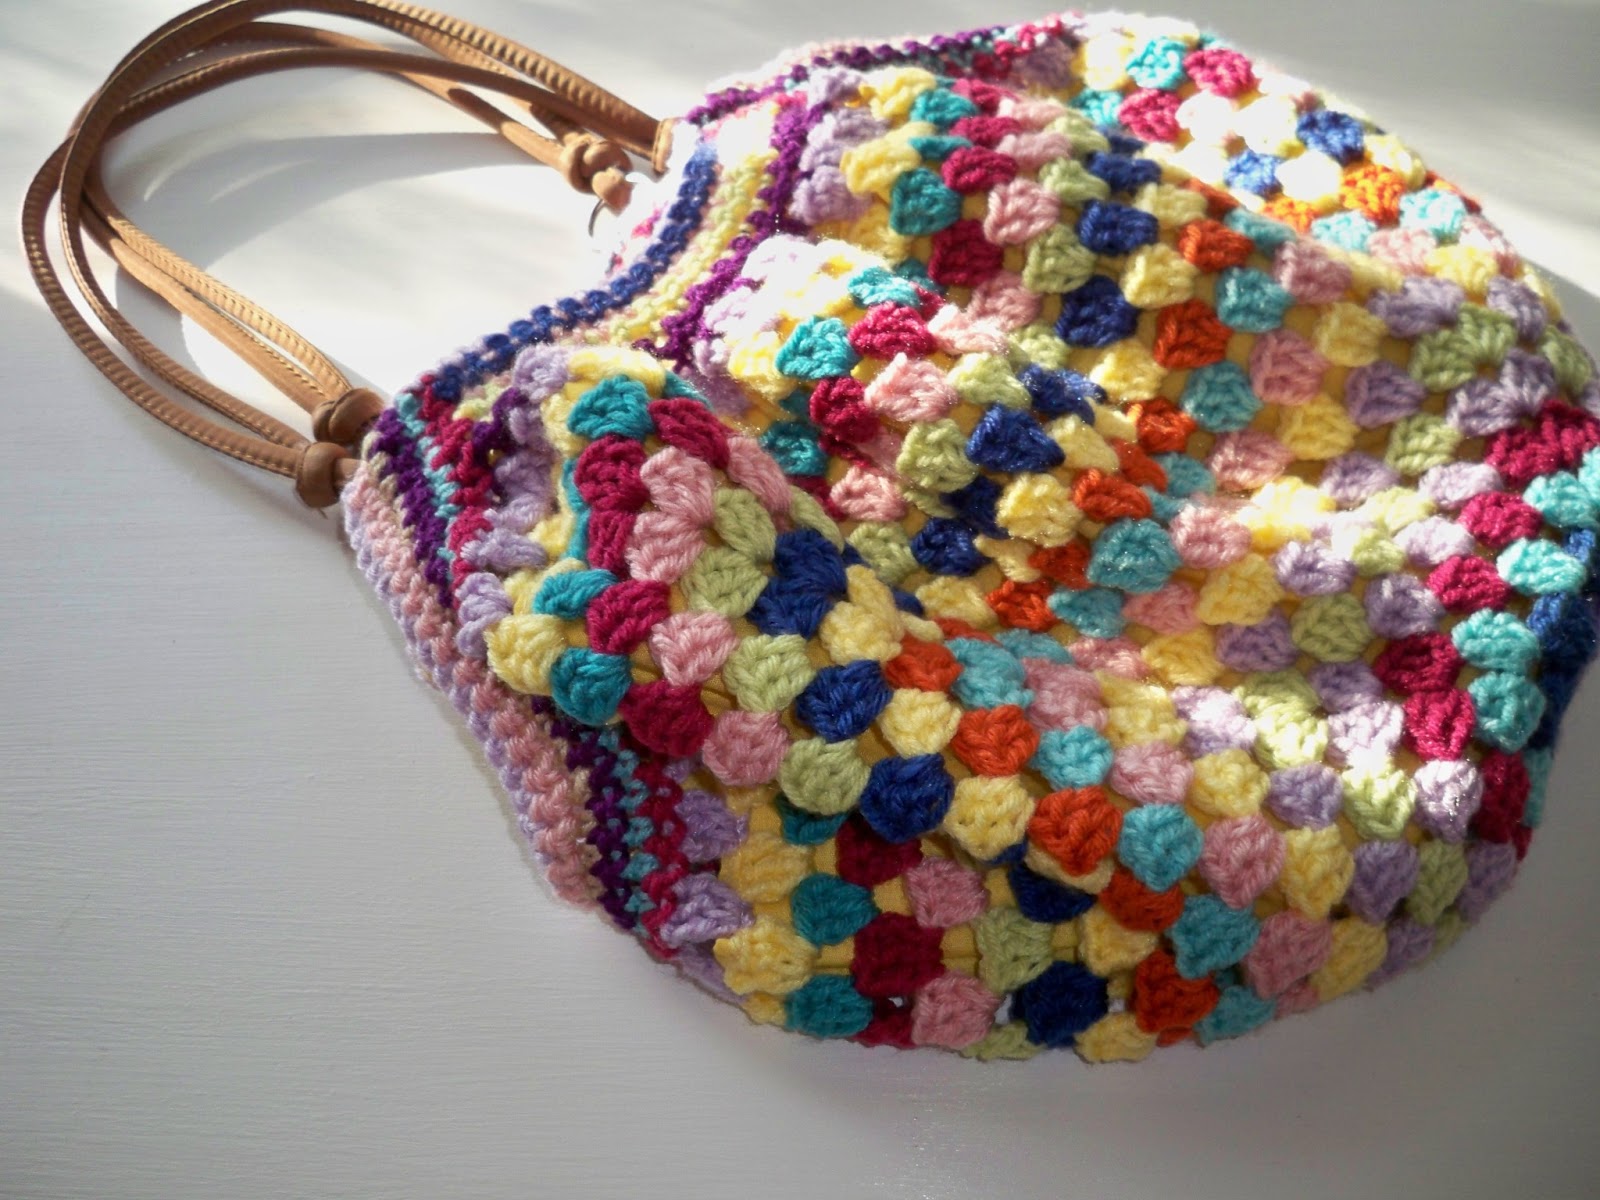
Happy Crocheting! :)
(Edited: 1/26/2013) This used to be atadplaid.blogspot.com and I just changed the blog name. Tutorial is still my original one. :)
(Edited: 1/26/2013) This used to be atadplaid.blogspot.com and I just changed the blog name. Tutorial is still my original one. :)
Brilliant!! I've looked and looked and LOOKED at the pattern on Ravelery but couldn't work it out.
ReplyDeleteThanks so much :-))
Di
Yay!! :) I'm so glad it was helpful!
DeleteHappy Crocheting!
Hollie
thank you for your time and effort..it makes so much sense once you see it the way you showed it. u r awesomeness swimming in awesome sauce
DeleteThank you for this great tutorial :) I didn't even have to look at the original pattern after seeing this... :)
ReplyDeleteThank you! Have fun making the bag! :)
DeleteYou're so lovely to help us all out! Thanks!!!
ReplyDeleteI was afraid to make this until I read your tutorial!
ReplyDeleteThanks so very much,
Tina
I've just found my next project! Thank you so much for taking the time to share your wonderful creativity!
ReplyDeleteI love your tutorial. I am making my square and have a question...where did you get those handles..they are great and how did you attach them? Knotted through a hole??
ReplyDeleteThanks!
Tina
Ooh! Great questions!
DeleteI bought my handles at Joann's Fabric and Crafts. I believe Hobby Lobby sells them too, as well as many LYS. These particular handles have the circles at the bottom, so I pushed the corners of the bag through and used the running-stitch technique to fasten them.
Hope that answered your questions! :)
Thank you so much for sharing this. I started making this bag ages ago but couldn't figure out how to gather it together at the top. I'll have to dig it out of the cupboard and finish it. :)
ReplyDeletethanks for this tutorial Hollie!!! I couldn´t find it anywhere...
ReplyDeleteHollie,
ReplyDeleteYou are great..I have made 2 so far...your tutorial was so helpful..wish I could post a picture here for you to see...
http://www.ravelry.com/projects/Tina295/29-210-44-striped-bag-2
http://www.ravelry.com/projects/Tina295/29-210-44-striped-bag
thanks,
Tina
Thanks so much!! I have the pattern, I have a large granny square and that's where it stops! I am horrible at reading those stinkin diagrams! YOU ROCK my friend!
ReplyDeleteThank you so much for your tutorial. It's very clear ~ I'm really looking forward to making this!
ReplyDeleteLove it!!! I am making one now...cant wait for it to be finished..thank you so much...
ReplyDeleteI love this tutorial! When did you sc2tog? Did you sc2tog all the way across or at certain intervals? I don't want my sides to be gaping open.
ReplyDeleteThanks again :)
Angel she didn't sc2tog. She skipped stitches which basically achieves the same effect in the end.
ReplyDeleteMy square is 22 rows deep (chunky wool and size 5) but it doesn't look like it's going to be a very deep bag? Should I keep going or do you think it will be ok?
ReplyDeleteFinally one I can understand (directions )...Thkyou
ReplyDeleteOne question ....colors ...how you decide on your colors in what order?
ReplyDeleteSo many people want to see this ...but can't get on this site ...
ReplyDelete